how to share the printer for windows 7, 8 & 10
how to share the printer for windows 7,8,10,xp computer system:- Sharing a printer allows multiple devices to use a single printer. This is particularly useful when there are multiple computers on a network and it is not practical or cost-effective to have a separate printer for each computer.
When a printer is shared on a network, any computer connect to that network can send documents to the shared printer for printing.
Sharing a printer on a network involves connecting the printer to a host computer, installing the printer drivers, and enabling printer sharing. The host computer acts as a print server, while the other computers on the network act as print clients.
Once the printer is set up and shared on the network, any computer on the network can add the shared printer and start using it to print documents.
There are different methods for sharing a printer depending on the operating system and network configuration. In Windows, for example, you can share a printer by going to the Control Panel and selecting “Devices and Printers” or “Printers & Scanners”.
From there, you can right-click on the printer you want to share and select “Printer properties” or “Properties”, and then click on the “Sharing” tab to enable printer sharing.
How To Share The Printer In Network
sharing a printer on a network can be a convenient and cost-effective way to make printing available to multiple devices. It can help save money on printer purchases and simplify printer management, while also improving workflow efficiency and collaboration among users.
Sharing a printer in Windows allows other computers on the same network to use the printer as if it are connect directly to their own computer. Here are the steps to share a printer in Windows:
Step 01:
- Connect the printer to the computer that will be sharing it and make sure it is installed and working properly.
- Open the Start menu and search for “Devices and Printers” or “Printers & Scanners” and select it from the search results.
- Find the printer you want to share and right-click on it. Select “Printer properties” or “Properties” from the context menu.
- In the Printer Properties window, click on the “Sharing” tab.
- Check the box that says “Share this printer” and enter a name for the shared printer. You can also set permissions for who can access the shared printer.
- Click “OK” to save the changes.
Step 02:
Now other computers on the same network can connect to the shared printer by following these steps:
- Open the Start menu and search for “Devices and Printers” or “Printers & Scanners” and select it from the search results.
- Click on “Add a printer” at the top of the window.
- Select “Add a network, wireless or Bluetooth printer” and wait for Windows to search for available printers.
- Select the shared printer from the list of available printers and click “Next”.
- Follow the on-screen instructions to install the printer driver and complete the setup.
How To Share Printer To Another Computer
To share a printer to another computer on the same network, you will need to follow these steps:
On the computer with the printer:
- Connect the printer to the computer and make sure it is installed and working properly.
- Go to the Control Panel and click on “Devices and Printers” or “Printers & Scanners”.
- Right-click on the printer you want to share and select “Printer properties” or “Properties”.
- Click on the “Sharing” tab and check the box that says “Share this printer”.
- Give the shared printer a name that you will remember and click “OK” to save the changes.
On the computer you want to share the printer with:
- Go to the Control Panel and click on “Devices and Printers” or “Printers & Scanners”.
- Click on “Add a printer” and select “Add a network, wireless or Bluetooth printer”.
- Wait for Windows to search for available printers and select the shared printer from the list.
- Follow the on-screen instructions to install the printer driver and complete the setup.
Once the share printer is set up on the other computer, it should be available for printing. To test it out, simply print a document and select the shared printer as the printing option. The document should sent to the printer and printed as expect.
FAQ:
Q: Why should I share a printer on a network?
A: Sharing a printer on a network can save you money on purchasing additional printers, and it can also simplify printer management. Instead of having a printer connected to each computer, you can have one printer that multiple computers can access and use. This can be particularly useful in an office or home environment where there are multiple devices that need to print.
Q: How do I share a printer on a network in Windows?
A: To share a printer on a Windows network, you can go to the Control Panel and select “Devices and Printers” or “Printers & Scanners”. Right-click on the printer you want to share, select “Printer properties” or “Properties”, and then click on the “Sharing” tab. Check the box that says “Share this printer”, and enter a name for the shared printer. You can also set permissions for who can access the printer. Click “OK” to save the changes.
Q: How do I connect to a shared printer on a network in Windows?
A: To connect to a shared printer on a Windows network, go to the Control Panel and select “Devices and Printers” or “Printers & Scanners”. Click on “Add a printer” and select “Add a network, wireless or Bluetooth printer”. Wait for Windows to search for available printers, and then select the shared printer from the list. Follow the on-screen instructions to install the printer driver and complete the setup.
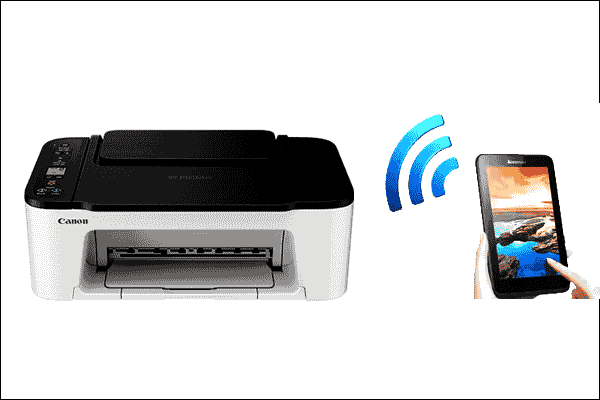
Q: Can I share a printer on a wireless network?
A: Yes, you can share a printer on a wireless network by connecting the printer to a wireless router or access point, and then enabling printer sharing on the computer that is connected to the printer. Other devices on the network can then connect to the shared printer wirelessly.
Q: Can I share a printer on a Mac network?
A: Yes, you can share a printer on a Mac network by going to “System Preferences” and selecting “Printers & Scanners”. Click on the printer you want to share, and then click on the “Sharing” tab. Check the box that says “Share this printer on the network”, and enter a name for the shared printer. Other devices on the network can then connect to the shared printer.